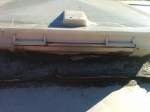
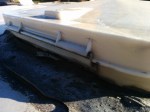
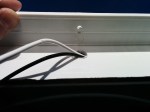
Back to our RV. We’ve been slowly working through the list of “Bad” from The Good and the Bad. First up was the leak in the front windows. The first big rain storm we had, I went inside and looked around for leaks and low and behold, all of that water damage on the front was because of two separate leaks in the front windows. Basically, the front windows have a rubber gasket that goes all the way around between the glass and the metal frame of the window. That gasket isn’t a complete circle though, it has a seam where the rubber starts and ends. Normally that seam goes on the bottom of the window so that no water can get in, but these windows were installed rotated 90 degrees from how they were designed so the seam is in the middle of one side.

Over the years, the rubber contracts in the sun and a gap forms where the seam is. In our case, the gap was almost 1/4 inch wide! Fortunately, $10 of 3M rubber sealant fixed that right up. No more leaking front window! I didn’t see any mold or rot from the water damage (looks like most of the water fell on the mattress which we threw away because that was moldy) so we’ve been drying out the wall as much as possible and we’ll be putting the wall back in place soon.
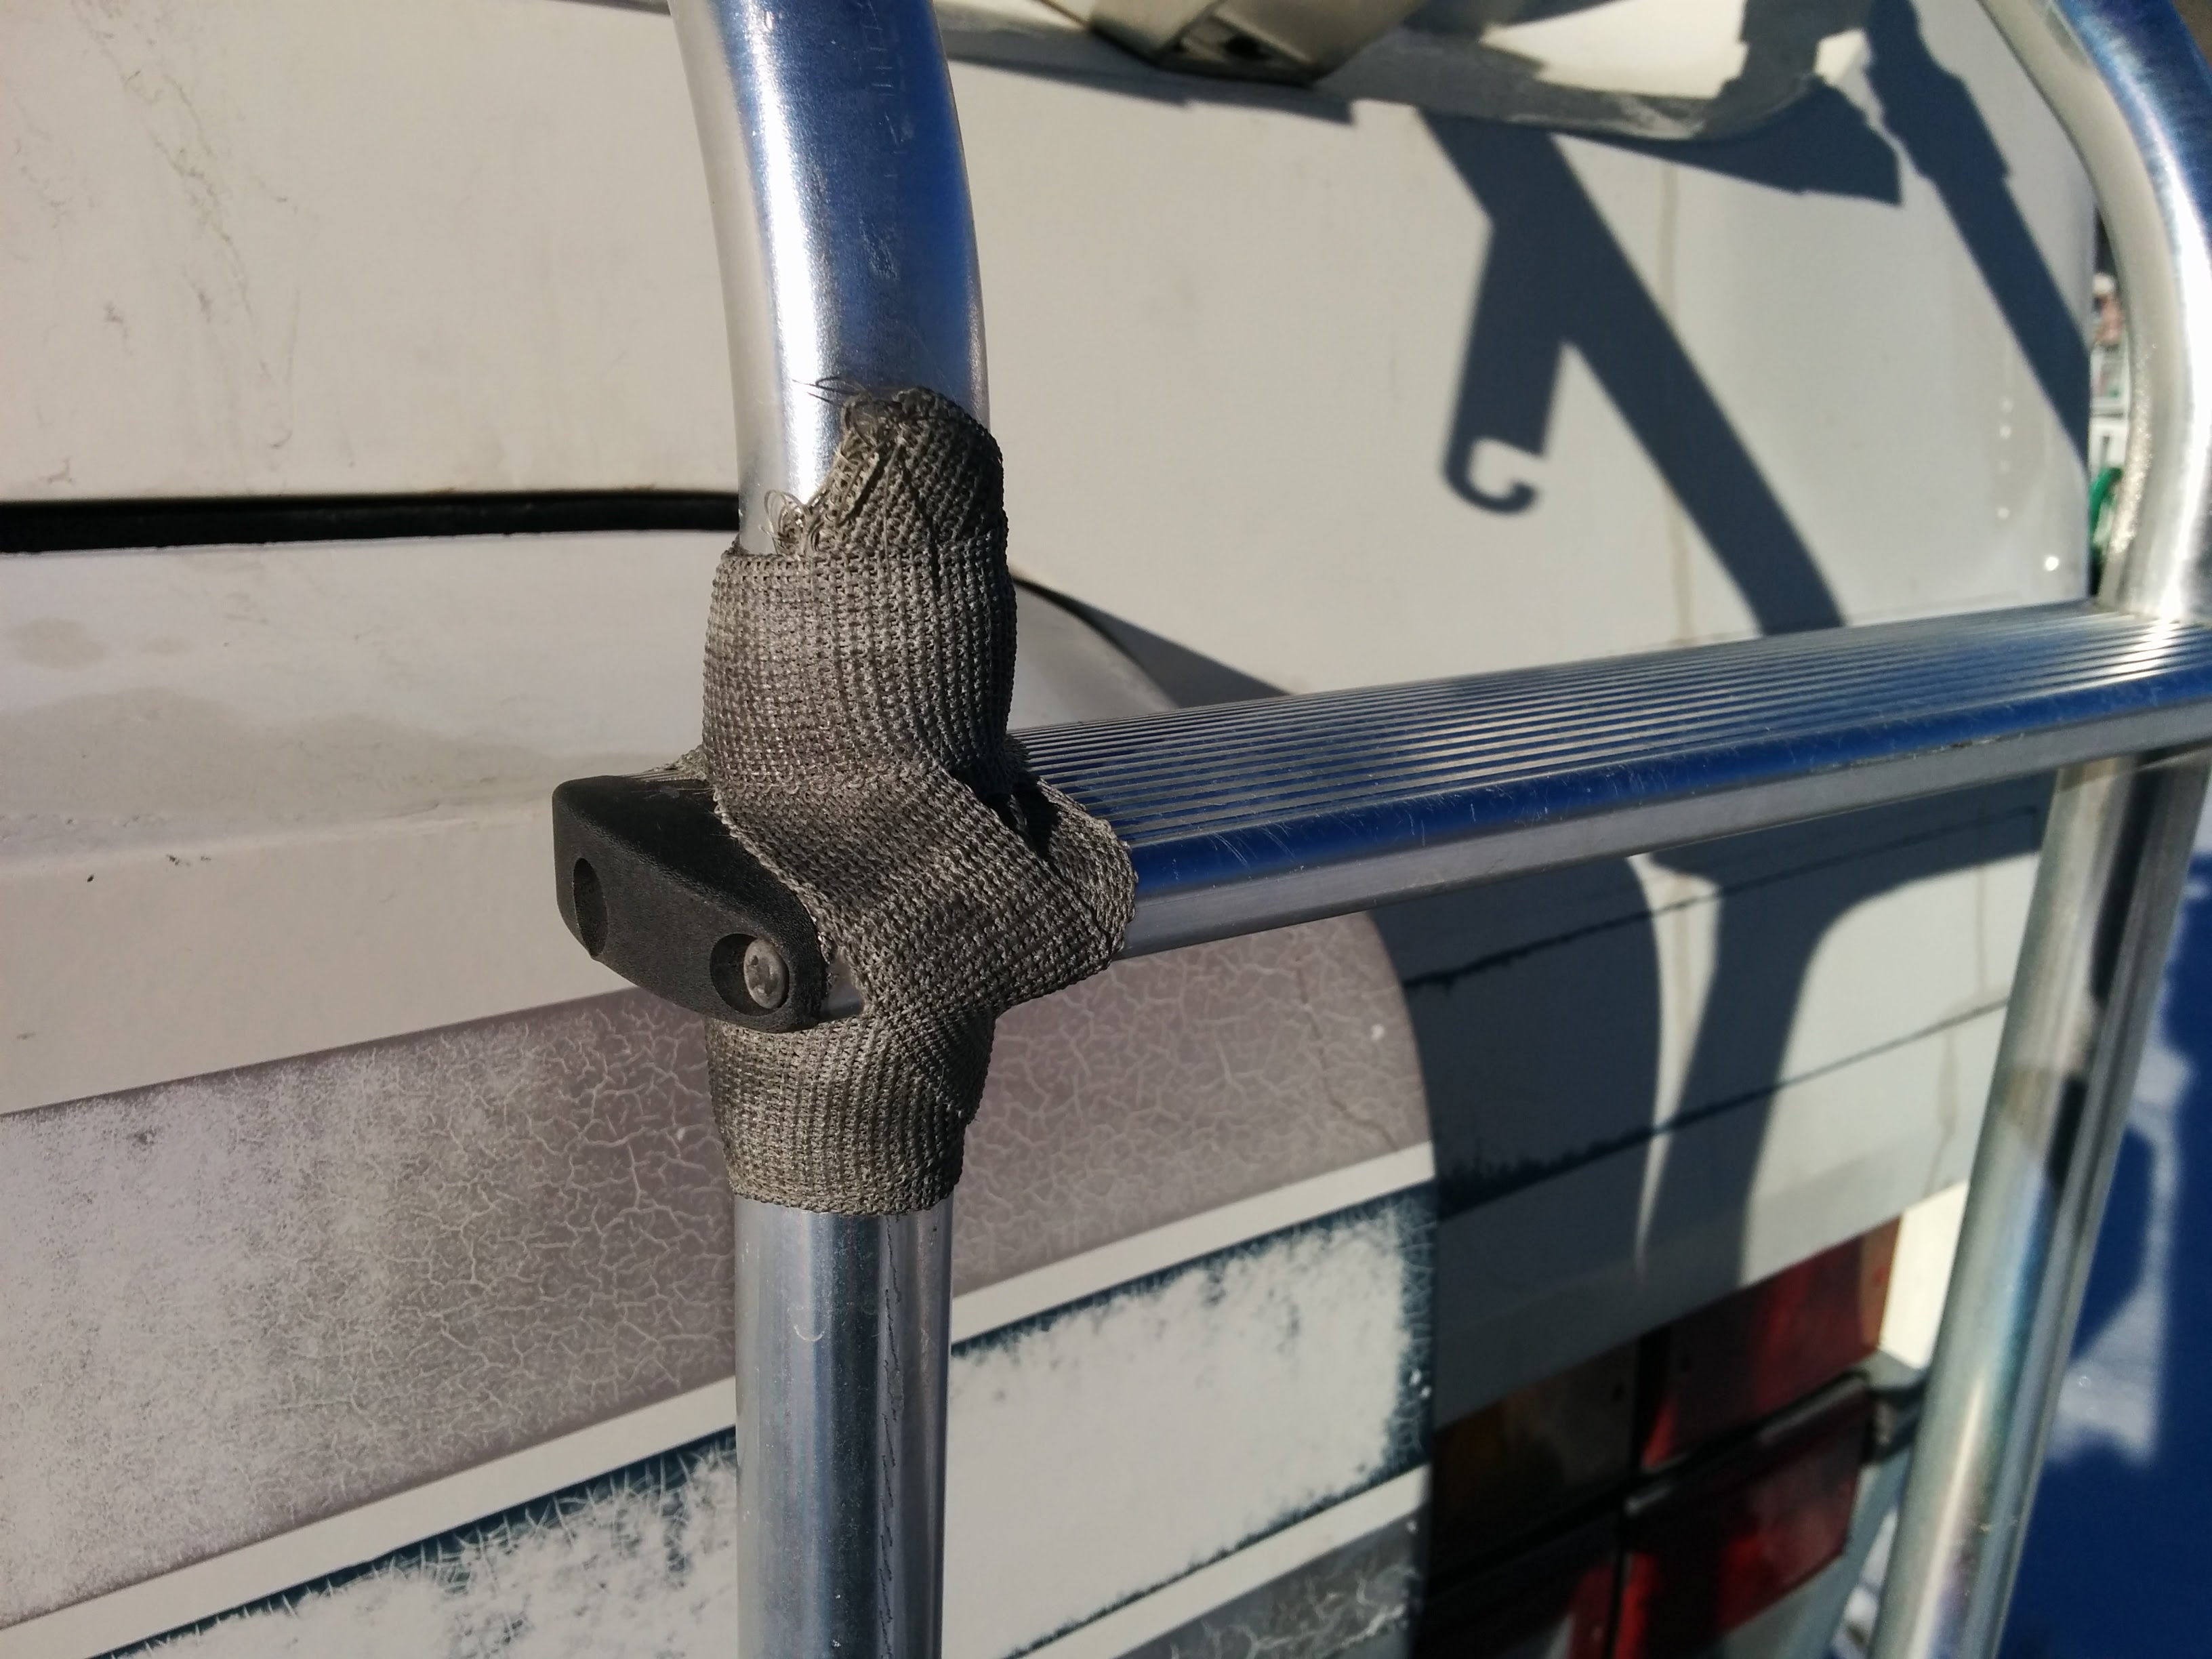
Next was the ladder. I had some FiberFix that was given to me as a stocking stuffer years ago to fix kayak paddles, but it worked great for this. Basically it is fiberglass tape with a water activated resin. You wrap the repair site with the tape and in about 20 minutes it hardens into a solid shape. It doesn’t stick to the metal pipe very well, and I wish I had about 3 times as much of it, but by making a solid sheath for the pipe it prevents twisting that the ladder wasn’t designed to handle. Not a perfect fix but much nicer and safer than before.
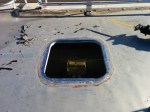
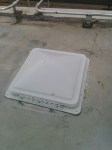
That brought me to the roof vent covers with the cracks. Only one of the three was actually leaking (the clear packing tape is currently working on the other two) so I decided to do that one by myself ASAP and the other two I’ll do when we have more time. Down the rabbit hole…
Winnebago used their own custom roof vents back in the eighties and early nineties. Their design has rounded corners where most companies use square cornered vents. Unfortunately that means that replacement covers that match the Winnebago vents are also custom and thus very expensive. Turns out a replacement Winnebago specific vent cover goes for $65. At the same time, you can get an entire replacement vent, cover and installation kit for about $33 and then after you’ve installed it, replacement covers are only $19.
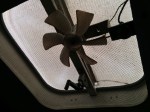
So in an effort to make replacements easier to find in the future (and because we wanted a fancy Fan-tastic Fan to cut down on air conditioning needs), we decided to do a full on replacement.
Here is a gallery of many of the steps.
I need to add a picture of the final state because after I screwed it in, I put EternaBond tape all the way around and used a large socket to roll it all tight. Then used Dicor Self-Leveling sealant on all the edges of the tape and around the hinge. Granted maybe it’s a good thing I didn’t have a picture of that because I’m TERRIBLE at using a caulk gun. Like really, really, really bad. I know it’s a practice thing but wow is this one ugly. Next time I’m up on the roof I’ll take a picture (and fill in the spots I missed with the Dicor because I’m almost hopeless!).
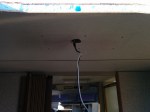
We’re now deep into interior demolition and electrical work. We’ll have a post later but we’re starting to remove furniture and rip up carpeting.
Also, Merry Christmas to everyone (especially those who found out about the site from our Christmas Cards!).
