
One of the highlights of our Ruby-Horsethief rafting trip a couple weeks ago was the first side hike we got to do. I had heard about this awesome hike to the second largest concentration of natural stone arches in the world after Arches National Park and was really interested in it, but there wasn’t a whole lot of information about it online. All we knew was “hike up Rattlesnake Canyon and at some point turn left up a side canyon, then at the top turn right again.” Not a lot to go on. So let me give the internet some more information about hiking Rattlesnake Canyon from the river to the natural arches.

The hike is an out and back hike, five miles round trip and climbs about 1,100 vertical feet. It took us about three and a half hours round trip. I definitely recommend changing out of the river shoes if you decide to try to head all the way for the arches; the people in our group who hiked in Chacos were pretty unhappy about their choice. Also, plan to bring more than a liter of water per person (2 liters per person would probably be good) as we ended up running out of water and hiking the return in a bit of a stupor. Here is the map of the route we took http://www.gmap-pedometer.com/?r=7081244. From that link you can see the satellite view through the arches above and zoom out to see the whole path.

The hike is broken into three parts. The canyon floor, the steep climb out of the canyon, and the plateau with the arches.
From the Rattlesnake campsite, walk towards the canyon mouth and follow a well worn path between the water and the wall. After about a half mile the creek dries out and you’ll just follow the creek bed. We saw tons of lizards, a natural arch, some beautiful trees that climbed their way out of the bottom of the canyon, and some amazing rock formations.


If you want a fun, easy, and pretty hike, feel free to just hike the canyon floor. It looked like lots of people just did that part and the effort/reward ratio of that section was definitely the best of the whole hike. The only decision point comes after more than a mile where two canyons come together, bear left. It total, you’ll follow the canyon floor for about 1.25 miles of very flat terrain from the mouth of the canyon until the sandy river bed ends at some “black rock” intrusions. (Side note: that black rock known as “Vishnu Schist” and is some of the oldest rock in North America at 1.7 billion years old). At that point, there are some cairns on the left (east) side of the trail marking the turn off for next section of the hike, the steep climb out of the canyon.
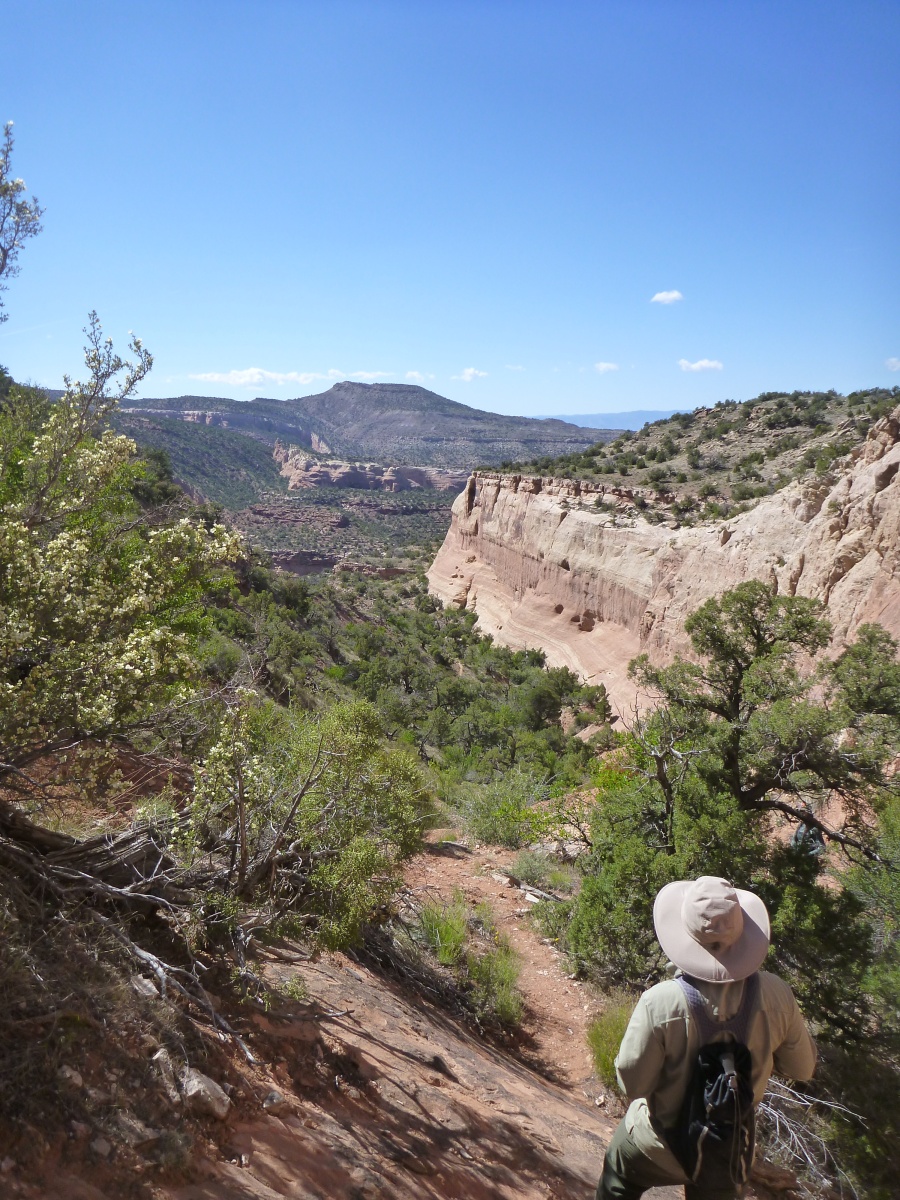
I’ll be honest, this section sucked. The “trail” climbs 900+ feet in 3/4 of a mile in full desert sun. I say “trail” in quotes because it’s kinda hard to follow at times. The gist is that you follow this new side canyon, sometimes on the left (north) side, until you meet up with another real trail at the rim of the side canyon. At first, the trail follows a well worn path but eventually, you’ll get to a steep stone cliff that you’ll follow to the left and then switchback up about 200 feet of vertical on the left side of the side canyon.

Eventually it will cut back to the side canyon’s floor and you’ll follow that up a very steep path to the rim of the side canyon. Once you make it to the ridge line, you’ll get an amazing view all the way to Grand Junction in one direction and back down the side canyon the other.
You’ll also see a USGS marker that was placed around 1910 (I don’t remember when exactly) that says “$150 fine for tampering with this marker.” We called it the expensive post. 🙂 From that ridge line, follow a new trail uphill for a few hundred yards until you meet the main arch trail where you’ll head to the right. Remember what this turn off looks like as it’s easy to miss on the way back. The trail is basically flat along the canyon rim all the rest of the way to the arches.
As you wrap around rock outcropping, the views of Rattlesnake Canyon will really open up. Enjoy the view and watch your step (both for the edge of the cliff and for rattlesnakes sunning themselves on the trail, we ran into one on our trip. Turns out the trail is accurately named). About 200 yards past the corner you’ll see the first of the arches. I’ve heard there are 9 arches within a quarter mile but we didn’t count them.


When you’ve gotten your pictures and your climbing fix in, just head back the way you came. Enjoy the rest of your Ruby Horsethief rafting trip and take some good pictures. 🙂

What a great hike! Love it. That first and last pic look like an animal face. What a great trip.
LikeLiked by 1 person
[…] it up into a couple parts for the blog. The other parts are How to plan a rafting trip and the Rattlesnake Canyon […]
LikeLike
Thanks for posting this. Very good info on the hike. We are doing the float and hike in about three weeks!
LikeLike
Hi, thanks again for posting this. We did this hike in October, 2017 and it was the highlight of our float trip. We would never have continued up the steep part if we hadn’t had the directions you posted here. It was a challenging hike for us. Thanks.
LikeLike